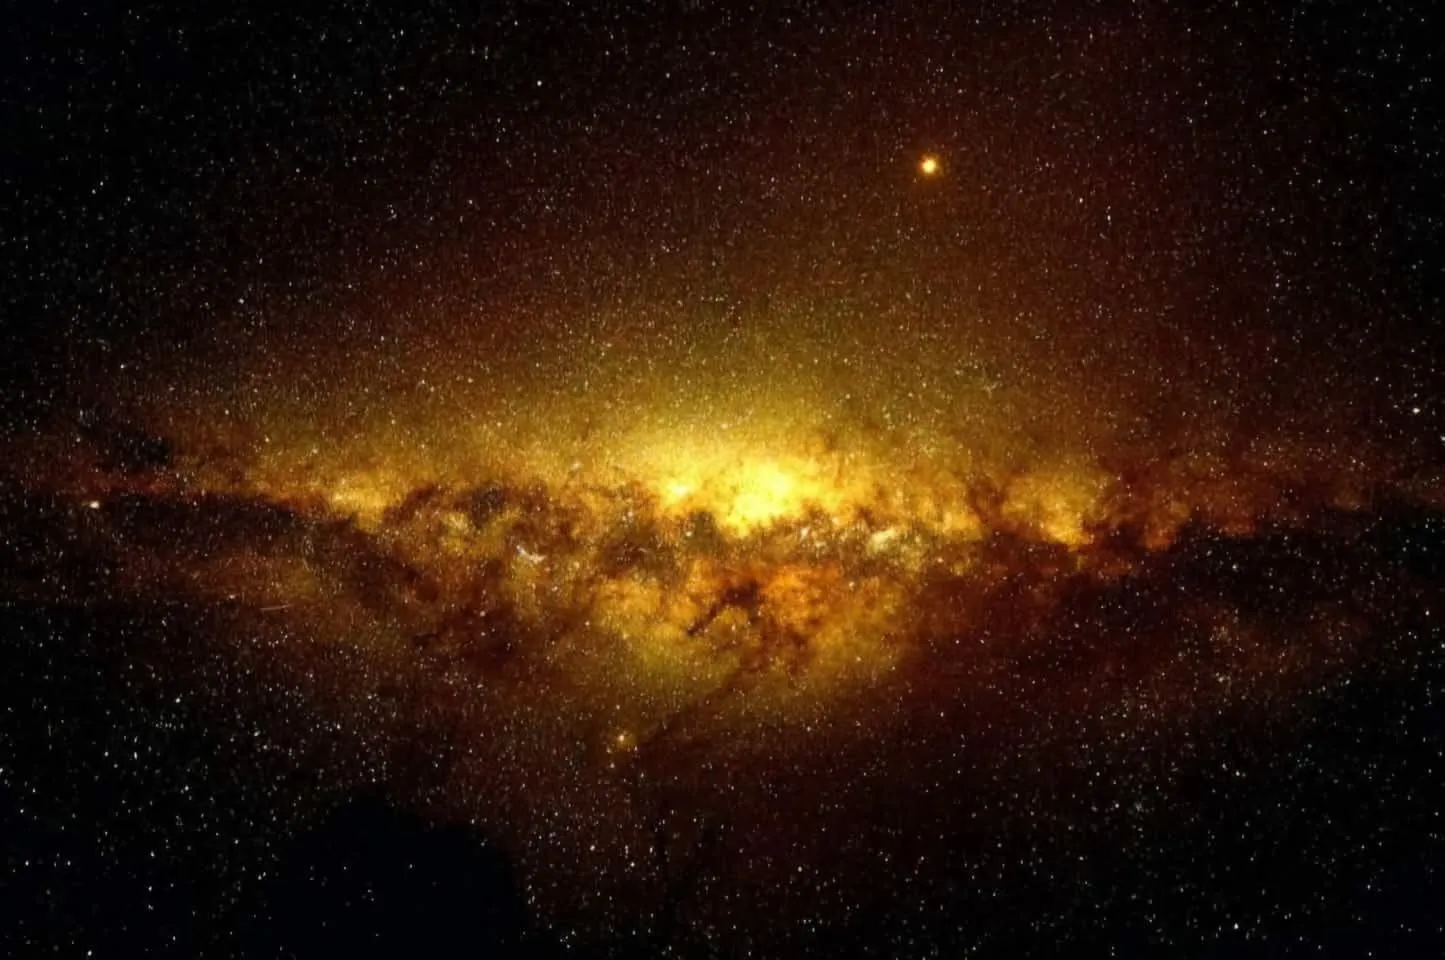
Astrophotography Guide: How to Photograph the Milky Way Galaxy

The Allure of the Nocturnal Canvas
Standing beneath a pristine night sky far from city lights reveals one of nature’s most breathtaking spectacles: the radiant arch of our home galaxy sweeping across the celestial vault. Capturing this cosmic grandeur through Milky Way astrophotography is both an exhilarating artistic pursuit and a technical discipline grounded in optical physics.
While urban light pollution drowns out faint stars for the majority of the world’s population, modern digital camera sensors possess the dynamic range and sensitivity required to resolve the galactic core in vivid detail.
Choosing Location, Season, and Lunar Timing
Successful night-sky imaging depends heavily on planning and environmental conditions:
- Dark Sky Sites: Light pollution is the greatest obstacle to astrophotography. Seek designated dark-sky reserves or remote rural areas with minimal artificial lighting, consulting light pollution maps (Bortle Scale Class 1 to 3 is optimal).
- The Core Season: The brightest and most intricate section of the galaxy—the Galactic Center toward Sagittarius—is seasonally visible. In the Southern Hemisphere, optimal viewing occurs from May through October; in the Northern Hemisphere, the core season spans March through September.
- The Lunar Phase: Ambient moonlight washes out faint nebulae and dust lanes. Schedule shoots during the new moon phase, or during the three to four nights immediately before and after the new moon when the night is completely dark.
Essential Equipment
To capture faint starlight, specific gear choices are vital:
- Camera Body: A full-frame DSLR or mirrorless camera is ideal. Full-frame sensors offer larger physical photosites, reducing thermal noise and improving signal-to-noise ratio in low-light environments.
- Fast Wide-Angle Lens: Select a lens with a focal length between $14\text{mm}$ and $24\text{mm}$ and a wide maximum aperture of $f/2.8$ or faster. A wide angle captures large swathes of the sky, while a fast aperture gathers maximum photons in short durations.
- Sturdy Tripod: Any camera vibration during a multi-second exposure will blur pin-point stars. A heavy, rigid tripod is indispensable.
The 500 Rule for Pinpoint Stars
Because the Earth rotates on its axis ($15^\circ$ per hour), keeping the camera shutter open too long causes pinpoint stars to streak into star trails. To determine the maximum exposure duration before trailing occurs, astrophotographers use the Rule of 500:
$$\text{Maximum Shutter Speed (seconds)} = \frac{500}{\text{Focal Length (mm)}}$$
For example, using a $20\text{mm}$ lens on a full-frame sensor allows a maximum exposure of $500 / 20 = 25$ seconds. With an ultra-wide $14\text{mm}$ lens, you can safely expose up to approximately $35$ seconds.
Optimal Camera Configuration
Set up your equipment in manual mode using these established baseline parameters:
- Focus: Switch lens to manual focus (MF). Use digital live-view magnification to focus precisely on the brightest star or distant horizon light until it forms a crisp pinpoint.
- Aperture: Set wide open at $f/2.8$ (or your lens’s fastest setting).
- Shutter Speed: Set between $20$ and $25$ seconds according to the 500 Rule.
- ISO Sensitivity: Set between ISO 3200 and ISO 6400 (or higher on newer low-noise sensors).
- File Format: Always shoot in uncompressed RAW to preserve raw sensor data for post-processing and dynamic range recovery in software like Adobe Lightroom.
- Shutter Delay: Use a two-second shutter timer or remote shutter cable to eliminate hand vibration when pressing the release button.
Conclusion
Mastering Milky Way astrophotography connects technology with ancient wonder. By applying the right optics, camera parameters, and patience, anyone can capture the radiant river of stars that forms our place in the universe.